How to Make a Framed Wall Wreath
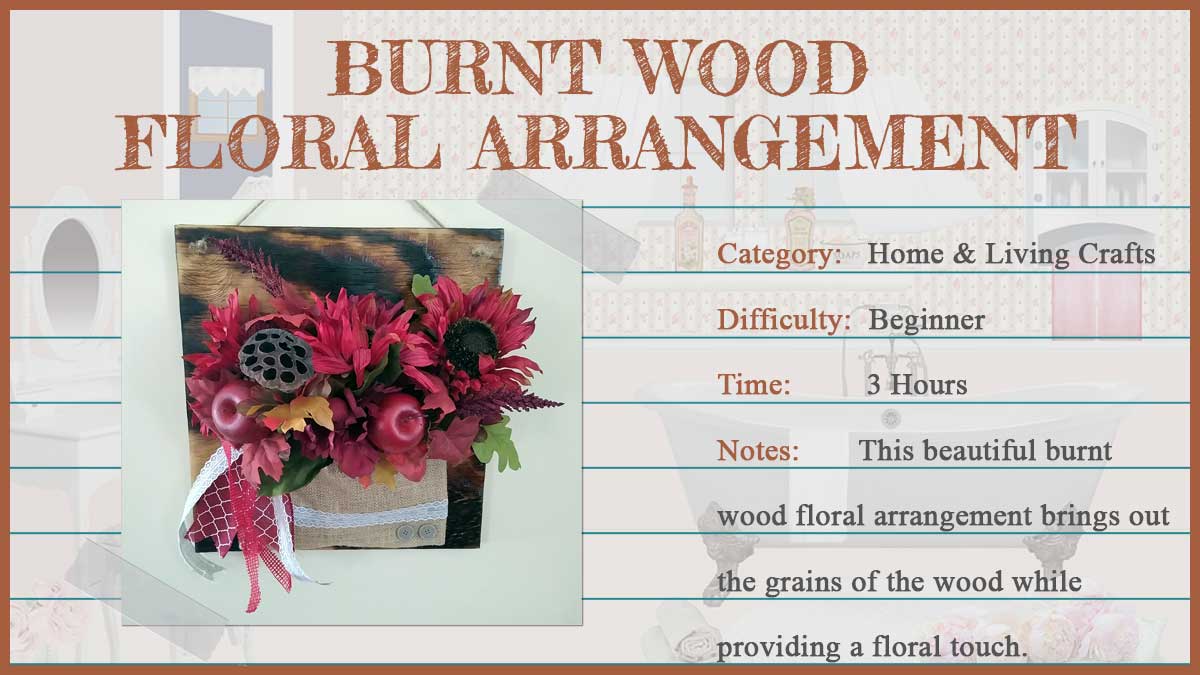
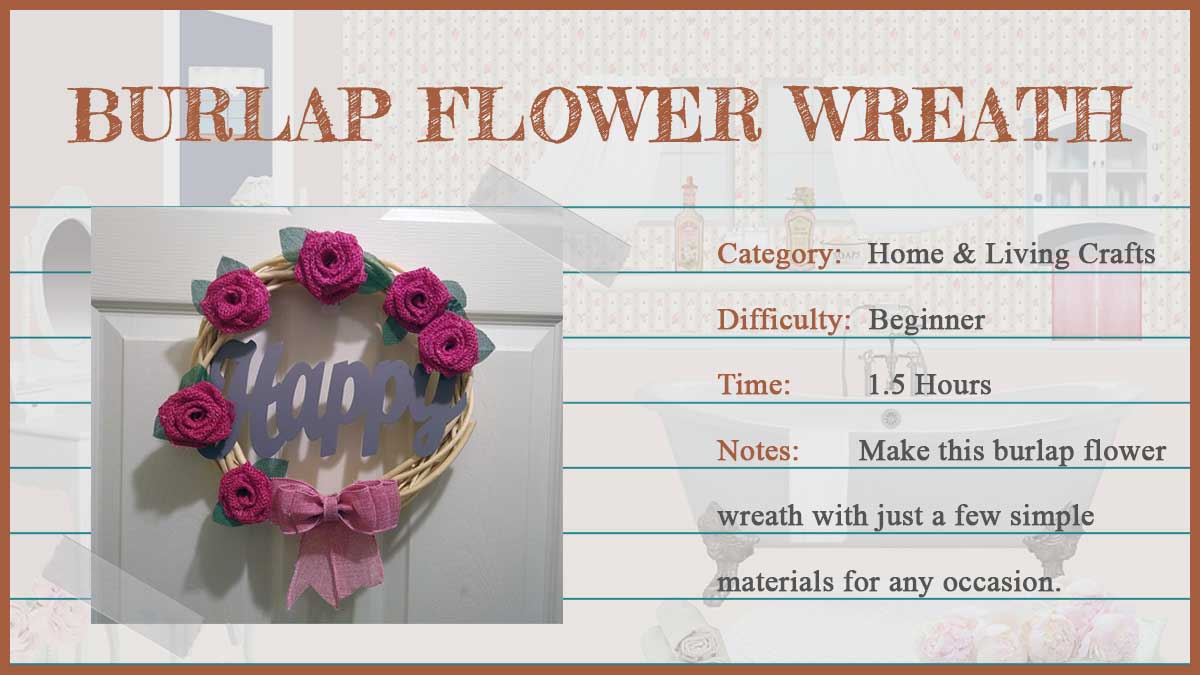
This Framed Wall Wreath project brings such an elegant look and warm feel to any room it hangs in. The painted wooden frame that the wreath hangs from provides a unique and different look from other traditional wreaths. The wreath can be changed according to the holiday or occasion. The possibilities are endless with this design and you can’t go wrong.
Materials and Equipment to Make a Framed Wall Wreath:
Materials needed
- Large Picture Frame
- Sand Paper (optional if needed)
- Paint
- Hooks to hang the picture frame on the wall (optional if needed)
- Metal Wreath Hoop
- Flowers
- Floral Tape
- Ribbon
- Sign (optional)
- Spray Paint (optional)
Equipment needed
- Scissors
- Sander (optional if needed)
- Hot Glue Gun
Time needed: 2 hours.
How to Make a Framed Wall Wreath
- Step One
If you’re using an old picture frame and it has a picture in it you will want to remove the picture and the glass. You will only need the frame for this project. My picture was an old picture I got from a yard sale, so I had to remove the picture from the frame.
- Step Two
Once you have removed the picture and glass you will want to remove the existing hooks if any from the back of your frame before sanding. This step is optional. My frame had designs on the wood, so I sanded it down to remove the engraved designs and smooth out the edges. If you do not need to sand anything you can move onto step three and paint your frames.
- Step Three
When you are ready to paint your frame, choose a color that best describes the look and appearance you are trying to achieve. I choose a flat country white paint because it went with the flowers I decided to use, but feel free to change it up and use whatever color you like. You don’t have to use paint from a bucket for the frame; spray paint works just as good. Since my frame had a dark finish on it I had to apply two coats of paint, but this could be different for you depending on the original color of your frame and your drying time may vary.
- Step Four
If you are attaching a sign to your wreath you will now want to spray paint it now. I spray painted mine with some extra spray paint I had here from another project. Once your sign is painted set this to the side to completely dry.
- Step Five
As you wait for your frame and sign to dry, move on creating your wreath.
Hint: My hoop was already gold in color, but if you are wanting a different color for your hoop you can spray paint your hoop to whatever color you would like.
Decide where you want to start your flowers and begin by attaching the stems one by one to the hoop with floral tape. I cut my flower stems off the bouquet and attached them stem by stem. This allowed me to spread the flowers out and work my way around the wreath evenly. I covered a quarter of my wreath with flowers, then on the other side, I did the same thing.
Leave a gap in the middle at the bottom to place the bow in the center. I felt the bow gave the wreath a little more fullness.
Hint: To make your bow use our “How to Make a Bow” video in our DIY Library.
Once your bow is made use your hot glue gun to secure your bow to the frame of your wreath. - Step Six
When your sign is completely dry use your hot glue gun to attach t to the metal hoop of your wreath. This should wrap up your wreath and it is now ready to hang from your frame.
- Step Seven
If your frame is completely dry you are ready to install your hooks to the back. Flip your frame over so that the rear of the frame is facing you and screw in your hooks on each side of the frame so that you are able to mount your finished project to the wall. Since I just removed the existing hooks from the frame I don’t need to measure where to place them at and just rescued them back to where they were located.
- Step Eight
Flip your frame back over and lay it perfectly flat on a table. Place your wreath in the center of the frame where you would like to see it hang. Using your ribbon measure how much you will need to hang the wreath from the frame and cut the ribbon where needed. Loop the ribbon from the picture frame to the wreath and apply hot glue only on the ribbon. Do not hot glue the ribbon to the frame unless you are permanently wanting to secure the ribbon to the frame. I did not do this so that I could remove the wreath and replace it with a different wreath later if I would like.
Hint: You can apply Velcro on your ribbon to allow you to change your wreath out from time to time. By using Velcro you will not have to cut the ribbon each time you want to change your wreath out.
Once this step is completed you are ready to hang your finished project.

Related Posts
Post a Comment
You must be logged in to post a comment.