Farmhouse Window and Wreath
Bring the feel of the country right into your home with this Farmhouse Window and Wreath. I love the beautiful appearance this décor puts off; its very unique and eye appealing. I hope you enjoy making this craft as much as you enjoy having it on display. There are very few materials needed for this project. The wreath can be made with a wide variety of fabric. I hope you try to tackle this beautiful decoration and have fun as you’re doing it. It’s sure to have everyone wondering where you got it from.
Materials Needed:
- 6 – 8×11 Picture Frames
- Paint or Spray Paint
- Super Glue and E6000 Glue
- Wire Wreath Frame
- 3 to 4 Different Fabric
- Large Bowl of Hot Water (optional)
- 8 to 10 Black Tea Bags (optional)
- Wood Paneling (optional)
- Staple Gun (optional)
Time needed: 5 hours.
Farmhouse Window and Wreath
- Step One:
Remove the pictures and backing from all of the picture frames and discard them. Remove the glass as well from the picture frames and set them to the side. Now you will paint your picture frames and allow time to dry. You may find you have to apply 2 coats depending on the original color of the frames and what color you are using for paint.
- Step Two:
One by one lay your fabric flat out and cut into strips of 1 1/2″ in width and 9 to 10″ in length. Do this for all of your fabric. I used a white fabric I had on hand and wanted to make it a cream color, so I soaked my strips in a bowl of hot water with about 8 tea bags for 2 hours. To make the color a little darker you can use more tea bags and soak longer. Once you have reached your desired color remove the fabric from the bowl, squeeze out the water, and pop in the dryer till completely dry.
- Step Three:
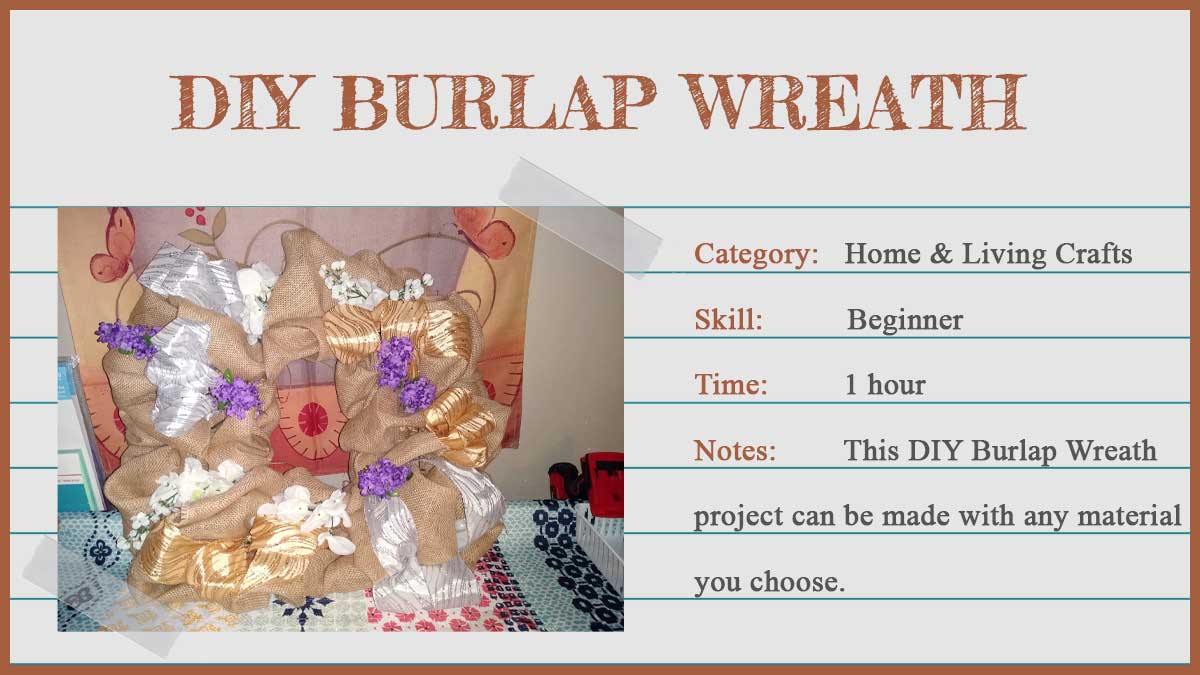
To make your wreath begin by tying your fabric in a knot one by one around your frame. I find it is easiest to make an assembly line of the fabric and just start at one end and keep rotating to the next until your wreath is completed. As you work your way around the frame be sure to keep scrunching the fabric together, so you will receive a full appearance when done.
- Step Four:
Once your picture frames are completely dry lay them face down so that the 11″ portion of the frame is horizontal to you. Apply the E6000 glue to the edges of the frame that you are securing together. After you have applied the E6000, you will use your hot glue gun to fill in the cracks between the frames on the back. Allow time for the glue to dry.
- Step Five:
Once your glue is dry you can move onto this next step if you have the materials and would like to do so. If not you can move onto step six. I had some leftover paneling at my home from a previous restoration. I measured it to the entire width and length of my window and then cut the paneling. I then placed the paneling on the back of my window and used a staple gun to secure it to the back of the window.
- Step Six:
Now you will flip your frame over and using your hot glue gun to attach your wreath to the center of your window. I attached mine to the picture frames. Once the glue is dry you are now ready to hang your Farmhouse Window and Wreath. I hope you ENJOY!

Post a Comment
You must be logged in to post a comment.


