DIY 4th of July T-Shirt
This year make your own 4th of July T-shirt for the whole family. These cute patterns can be used for anyone of all ages. Every year I buy my kids t-shirts for the holiday, but this year they will be rocking the “MOM GEAR”! I think the onesies turned out super adorable and my 11-year-olds just love the tank top I made her. The beads on the bottom of her shirt give it such a unique flare that she is asking for me to add beads to other shirts of hers.
4th of July T-Shirt
Materials Needed:
- 1 T-Shirt
- 1 or 2 onesies
- Two kitchen sponges
- Sharpie
- Scissors
- Red, White & Blue Acrylic Paint (water-resistant once dry)
- Foam Paint Brush
- Red & Blue Spray Paint
- Painters Tape
- Cardboard
- Red, White & Blue Pony Beads
- Star Stamp
Time needed: 5 hours.
4th of July T-Shirt
- Step One:
We will start with the Baby Onesie.
I found a star on the internet to print out and to trace onto both of the kitchen sponges; however, you could draw your stars by freehand onto your sponges. Either way, once you have your stars onto your sponges you will want to cut them out using your scissors. - Step Two:
Next you will need a cardboard box to slid inside of the onesie to prevent the paint from bleeding through to the back of the onesie. Once you have the cardboard secured in the onesie pour a small amount of red and blue paint on a paper plate or paint pallet.
- Step Three:
For this next step I used my foam paint brush and applied some red paint to one of my sponges and stamped it onto the onesie. I did the same for the blue paint. Once I had the desired amount of stars on my shirt I set the shirt to the side and allowed 3 to 4 hours to dry.
Note: The dry time may vary depending on temperature and how much paint is on your onesie. - Step Four:
While I waited for my onesie to dry I moved onto making my t-shirt for my 11 year old.
I began by cutting off the sleeves on my shirt. I then took a pen and lightly drew a line where I wanted to cut around the neck of the shirt. The reason I did this is because I wanted to give the shirt a wider neck line and a more famine appearance. - Step Five:
Next I took some more cardboard and tightly secured my t-shirt around it. To do this I used a rubber band and tied the shirt in the back because my cardboard was not big enough to make the shirt hug the cardboard tightly. I then took my painters tape and outlined where I wanted my blue box of the flag to be at on the shirt. The reason for the painters tape is to help prevent overspray from the spray paint from getting onto the rest of the shirt.
- Step Six:
After I had covered all areas that did not want to have painted, I applied the blue spray paint to the shirt. You will have to allow the paint to dry before you can move onto the next step.
- Step Seven:
Remove all of your painters tape from the shirt and readjust the cardboard to the other side of the shirt. Make sure our t-shirt is pulled tightly and secured in the back if needed. Then take more painter tape and beginning from the top of your shirt make strips across your shirt. This will be for the red and white strips of the flag. Once you have the rest of your shirt taped off to prevent any overspray, use the red spray paint and paint your shirt. Set your shirt to the side again and allow it to dry.
- Step Eight:
Once your shirt is completely dry remove all the painters tape. Since I wanted to put beads on my shirt I applied them before I put the stars on, but If you are not wanting to put any beads onto the shirt then move onto step nine. I only put beads on the from of the shirt, so I only cut the hem off the bottom of the front of the shirt. Next I cut strips of my shirt about a 1/2 inch wide and 2 to 2 1/2 inch in length across the bottom of the shirt. I took my beads in the order of red, white and blue and threaded my shirt through the beads. I tied knots at the bottom to make sure my beads remained secure onto the shirt.
- Step Nine:
For my stars I used white acrylic paint and a star stamper. Pour a small amount of white paint onto a paper plate or a painters pallet and with your foam brush apply the paint to your stamper. I applied the paint to the stamper this way to make sure that when I stamped the shirt there was not to much paint on the stamper preventing it from looking like a star. Once you apply all your desired amount of stars set your shirt to the side and allow it to dry completely. This is your final set.
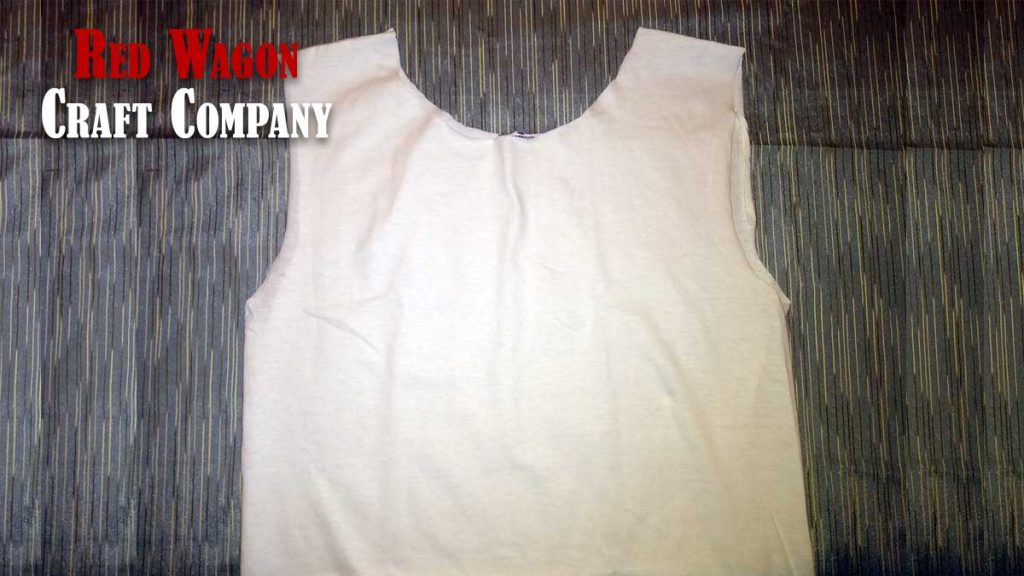
Cut the sleeves and neck off a white t-shirt 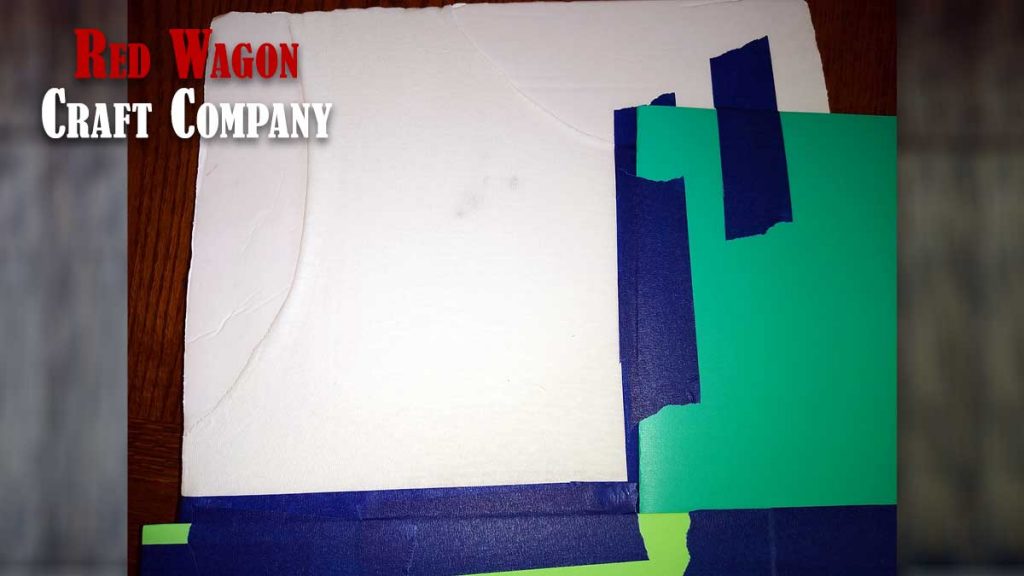
Tape off top left corner on front of t-shirt 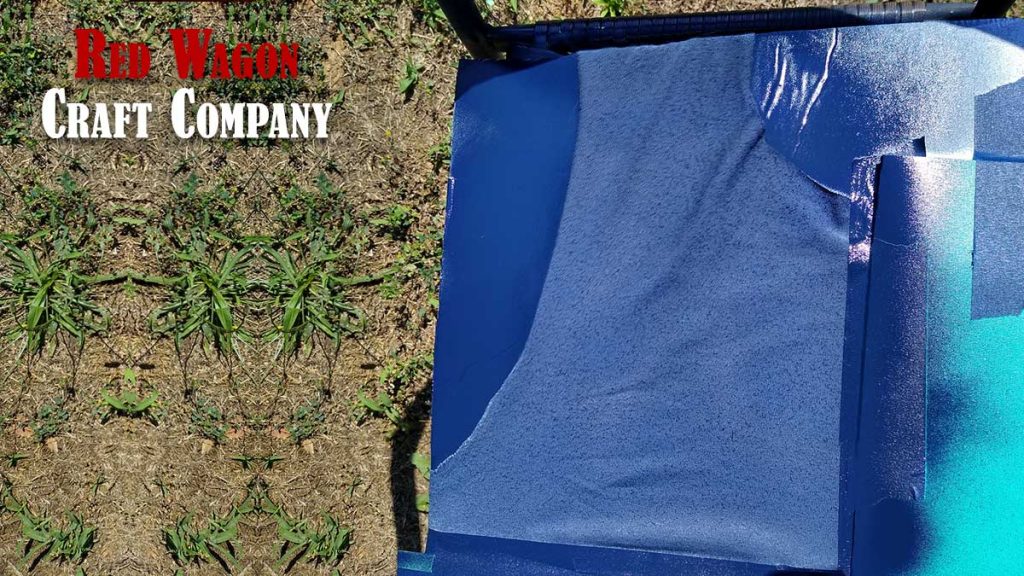
Paint the top left corner on front of t-shirt blue 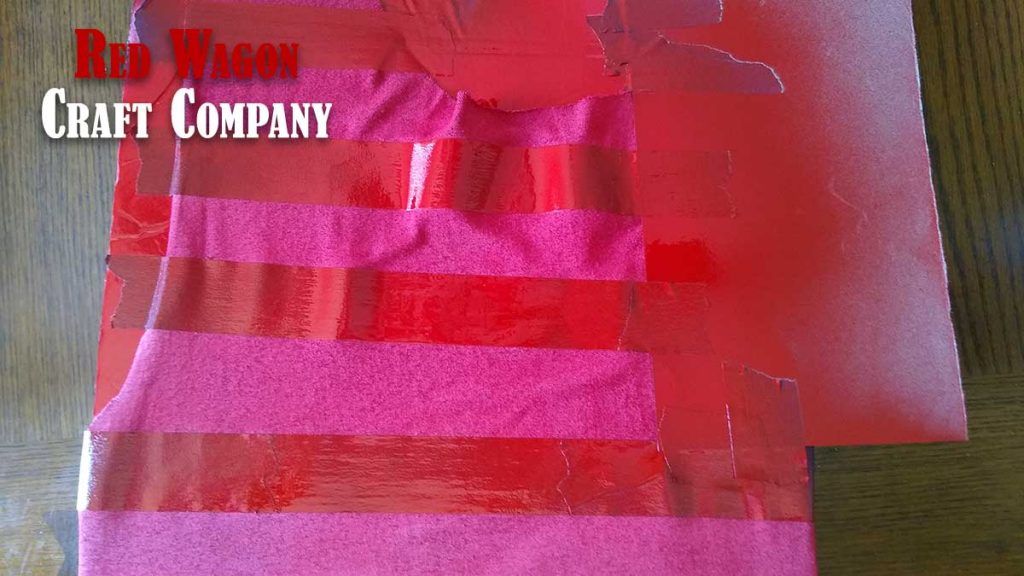
Tape off top and paint the red stripes on front of t-shirt 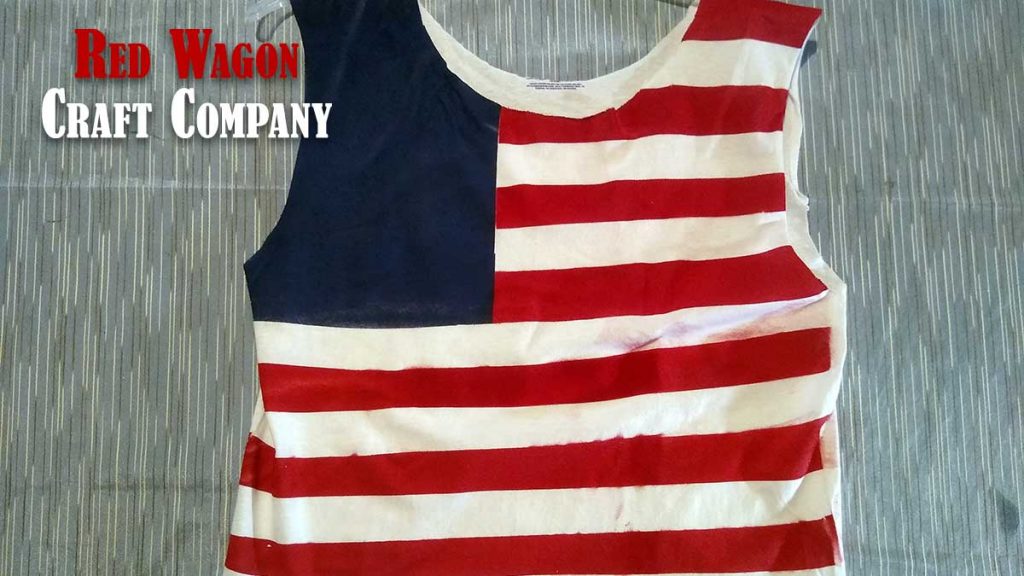
Let the t-shirt dry 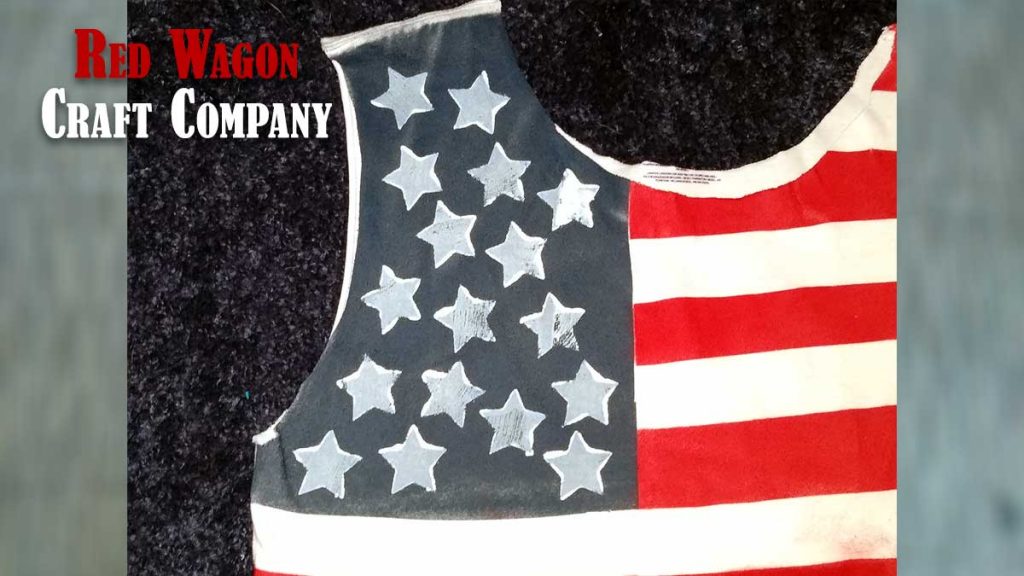
Using star sponge and white paint add stars to blue field. 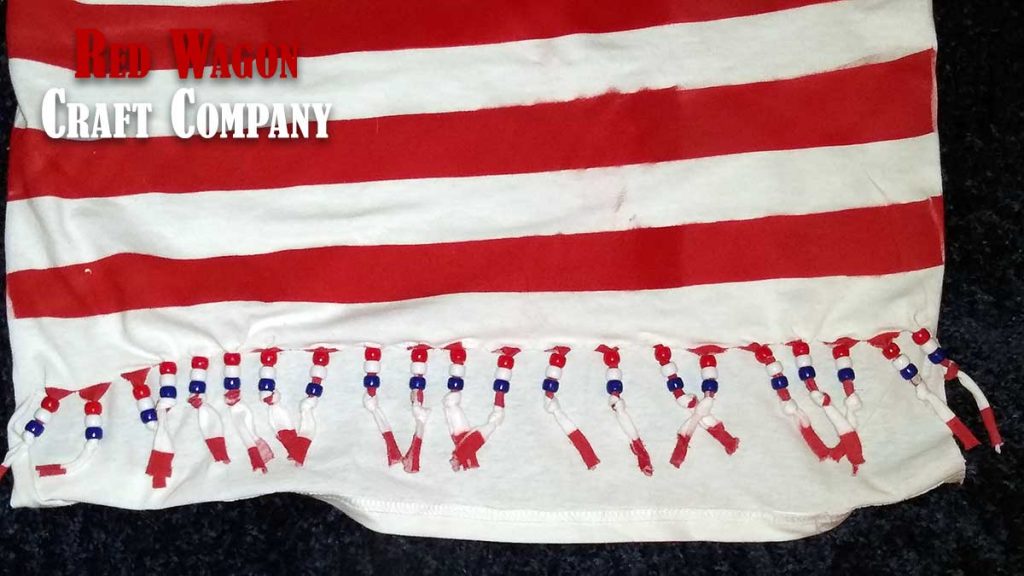
Cut strips on the bottom of the t-shirt and put red, white and blue beads on the t-shirt 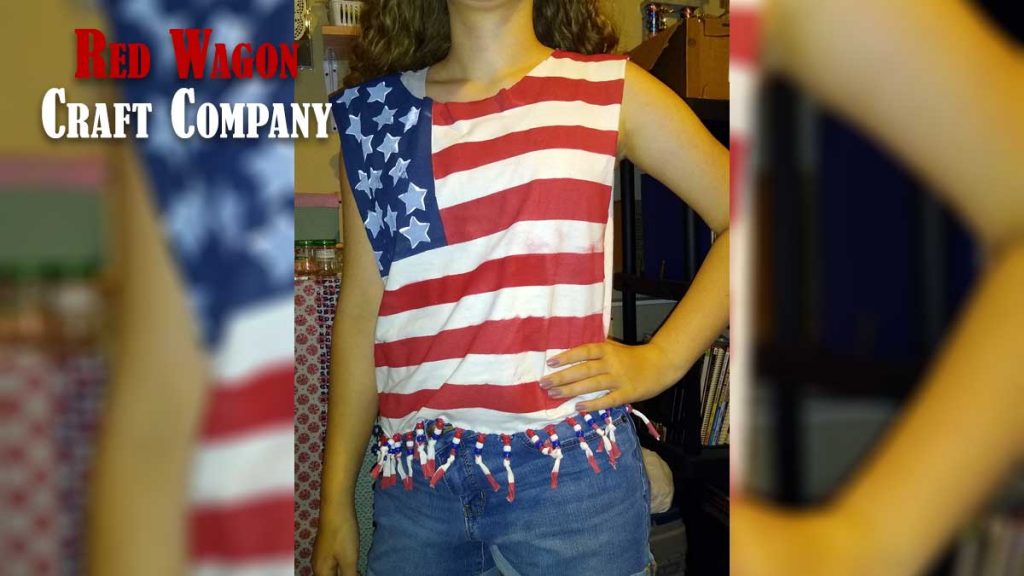
Your t-shirt is ready to wear. Happy 4th of July.
Related Posts

Post a Comment
You must be logged in to post a comment.